There were four tasks for this session, which involved one large sheet, split into 4 parts. Each section focused on an area of the cast design, including:
- Cast Lineup - The whole cast standing side by side. Used to show scale in relation to one another, and how the characters look generically.
- Character Model Sheet (Turnaround) - One character as seen from the front, side, back and from a 3/4 view.

(Supergirl's model sheet - credit: Warner Bros.) - Character Design Sheet - One character in a range of different poses, e.g. fighting poses, running, walking, etc.

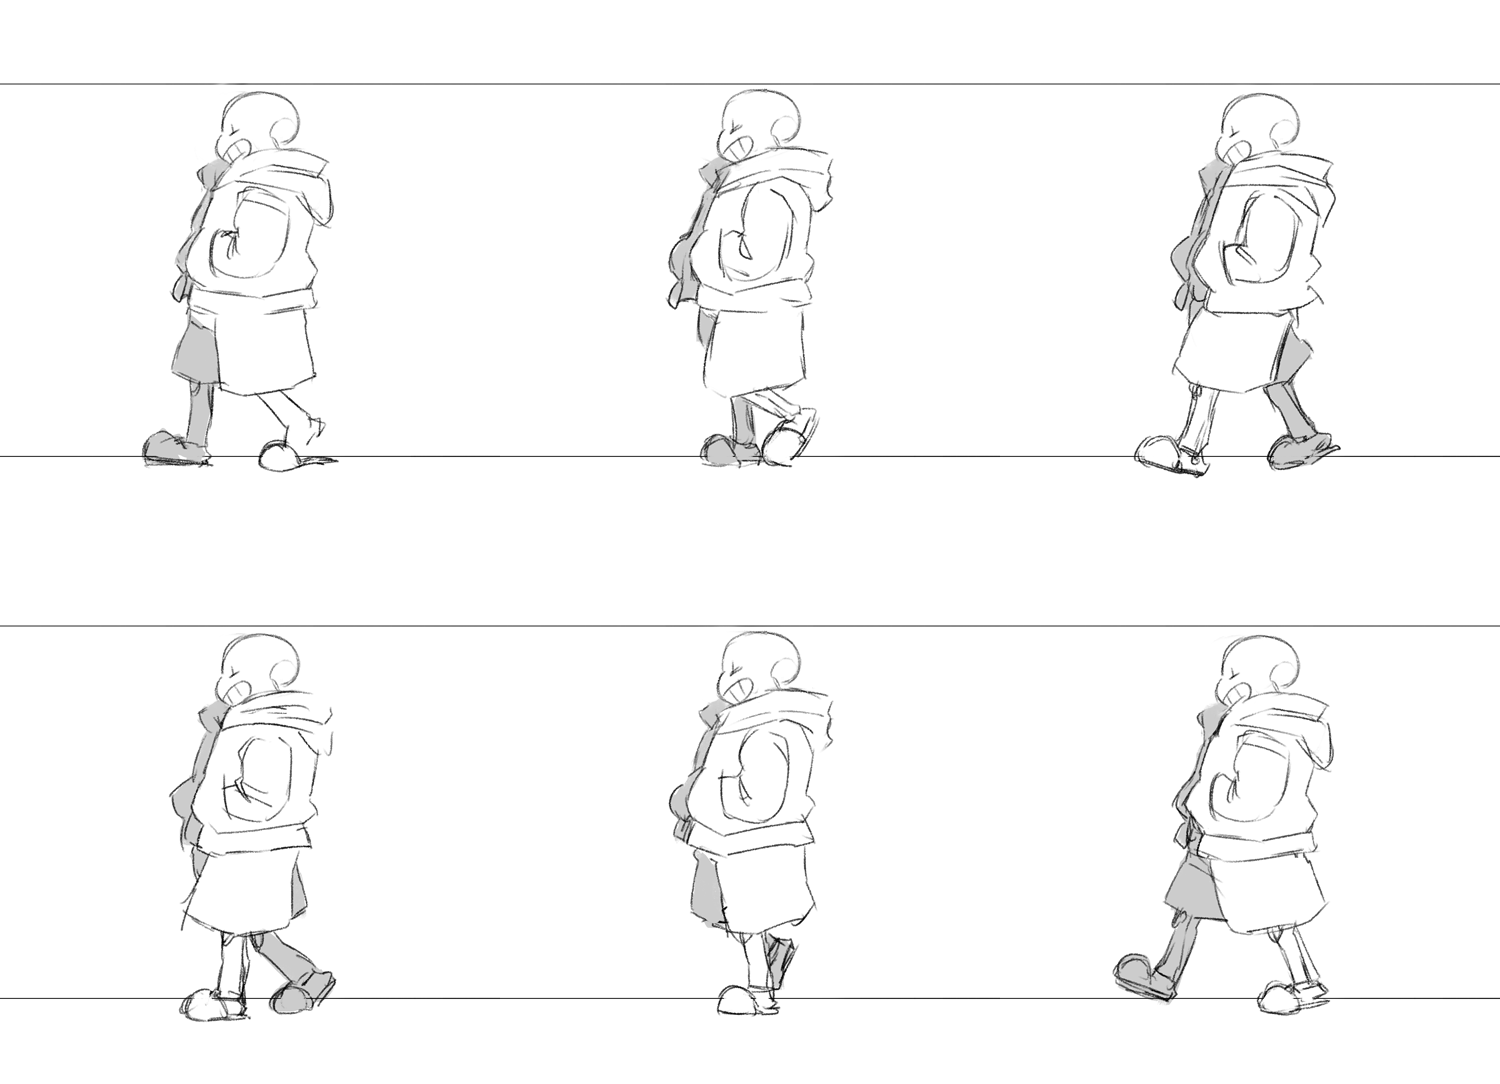
(Design sheet for various Rainicorns from Adventure Time - credit: Cartoon Network) - Walk Cycle - Showing the way a character walks, usually expressing some kind of personality or emotion

(Fan made walk cycle of Sans from Undertale - credit: Leaphy on Weasyl)
When moving on to the primary sketches, we were encouraged to show what shapes were underneath clothes and larger appendages. Adding general shapes into the character helps establish space and what certain parts of the character, for lack of a better term, feel like.
(My cast lineup, both silhouettes and full sketches)
We next moved on to the character model sheet; for this, we had to choose ONE character from our cast, with the only rule being they have to be bipedal humanoids. I chose my protagonist, C2 (seen on the far left of my cast lineup). This stage was where I made quite a substantial change to my character design. I made the forearms much bigger, keeping in mind the morse code analogy where keeping the shapes used varied is more interesting and has more rhythm to it. Also, doing this made the arms look less like tubes, and more alien; appropriate for the character.
From there, it was quite a simple road to creating the model sheet. Making a set of guide lines to keep the head, torso and legs to correct scale proved helpful.
(C2 model sheet)
Next step was the design sheet, which was the part I enjoyed the most. For this, we were given two types of prompts we had to draw our character around; an scenario or an image. For example, a scenario given was "your character is late for the bus", and we had to draw what that character would look like running to try and catch up to the bus. An image example is this image of Michael Jackson, which we had to replicate with out characters.
We ended up with around 10 drawings each, in a wide range of poses.
(C2's design sheet)
Our final task for this session was to make a basic walk cycle for our character. We used the basic guide from The Animator's Survival Kit by Richard Williams as a template of sorts, and then applying small changes to accommodate our characters' needs. I originally went in the direction of having larger steps, to represent the larger stature of the character. I drew that up, and then realised it wouldn't quite simulate the weight I wanted from the character.
(C2's original walk cycle; notes below the cycle are changes to be made.)
And that was it, essentially! In the end, I ended up with a full sheet looking like this:
I'm happy with how the character looks at this point, although some slight adjustments in terms of proportions and particular body parts may change naturally. Our next step is to start bringing these characters and sheets into the digital space, using Photoshop and TVPaint. I'm eager to get started with it!


No comments:
Post a Comment